Getting the Java source
About the sample project
In order to understand documentation for Java APIs, it helps to have a context of some sort. As such, I created a simple little Java application to demonstrate how the various tags get rendered into the Javadoc.
The sample Java project is a little application about different tools that a coyote will use to capture a roadrunner. There are two classes (ACMESmartphone and Dynamite) and another class file called App that references the classes.
This program doesn't really do anything except print little messages to the console, but it's hopefully simple enough to be instructive in its purpose — to demonstrate different doc tags, their placement, and how they get rendered in the Javadoc.
Clone the source on Github
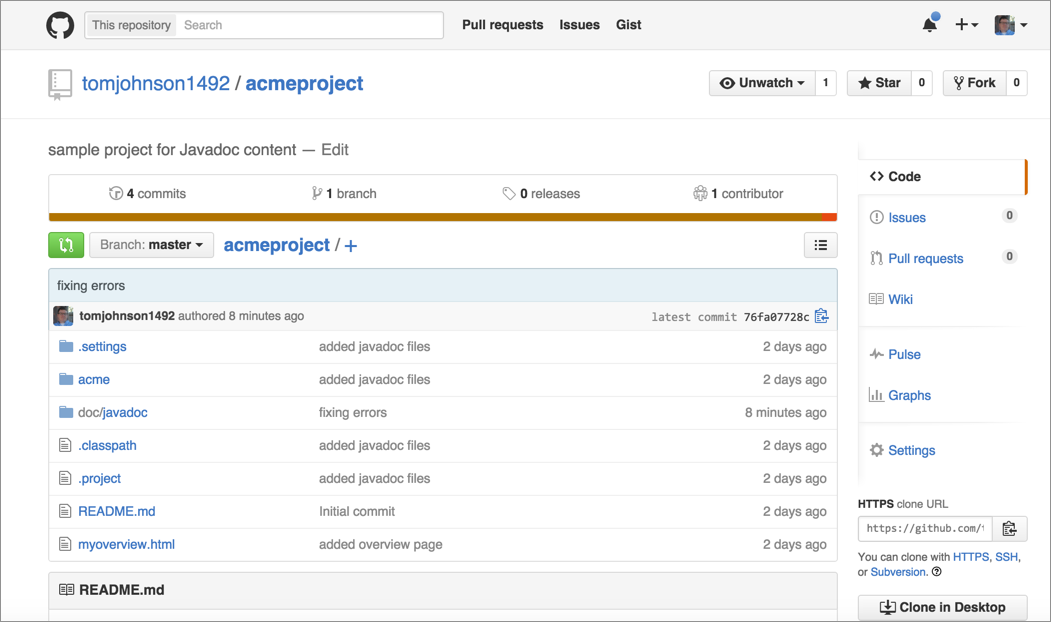
One of your immediate challenges to editing Javadoc will be to get the source code into your IDE. The acmeproject is here on Github.
First clone the source using version control. We covered some version control basics earlier in the course.
You can clone the source in a couple of ways:
git clone https://github.com/tomjohnson1492/acmeproject
Or click Clone in Desktop and navigate to the right path in Github Desktop.
(If you don't want to clone the source, you could click Download ZIP and download the content manually.)
Open the right location in Eclipse
- After you've cloned or downloaded the Java project, open Eclipse. Go to File > New Java Project.
Clear the Use default location check box, and then browse to where you cloned the Github project.
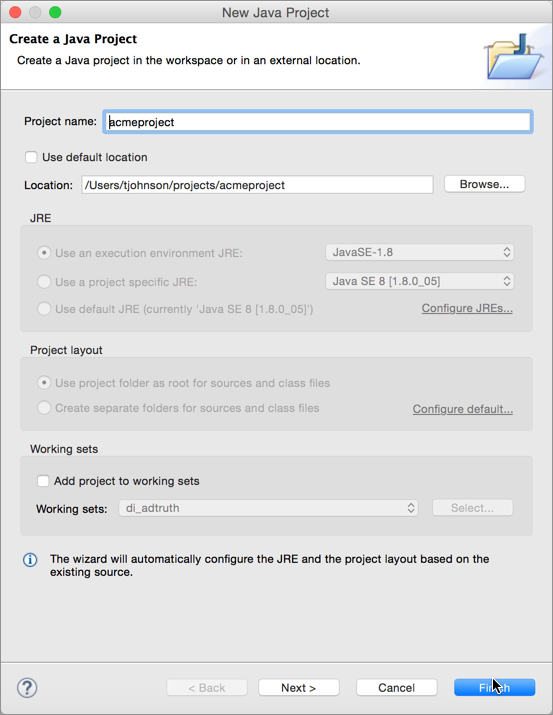
Click Finish.
The Java files should be visible within your Eclipse IDE.
Maven projects
Java projects often have a lot of dependencies on packages that are third-party libraries or at least non-standard Java utilities. Rather than requiring users to download these additional packages and add them to their class manually, developers frequently use Maven to manage the packages.
Maven projects use a pom.xml file that defines the dependencies. Eclipse ships with Maven already installed, so when you import a Maven project and install it, the Eclipse Maven plugin will retrieve all of the project dependencies and add them to your project.
The sample project doesn't use Maven, but I wanted to add a note about Maven here anyway because chances are if you're getting a Java project from developers, you won't import it in the way previously described. Instead, you'll import it as an existing Maven project.
To import a Maven project into Eclipse:
- In Eclipse, go to File > Import > Maven > Existing Maven Projects and click Next.
- In the Root Directory field, click Browse and browse to the Java project folder (which contains the Maven pom.xml file) and then click Open. Then click Finish in the dialog box.
- In the Project Explorer pane in Eclipse, right-click the Java folder and select Run as Maven Install.
Maven retrieves the necessary packages and builds the project. If the build is successful, you will see a "BUILD SUCCESS" message in the console. You then use the source code in the built project.